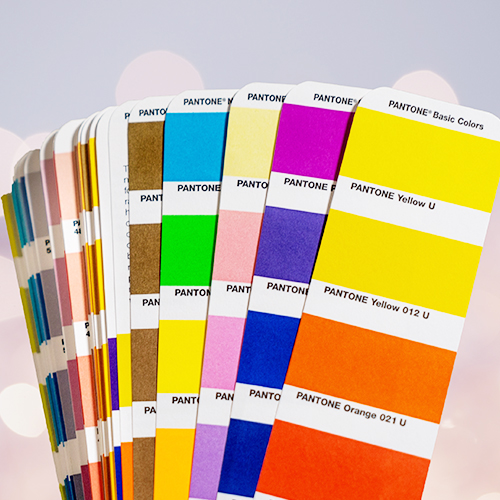
When a customer creates the artwork and sends us the file, our pre-press department makes sure it can be printed without any color distortion or sizing issues.
01
File Verification
File Verification
The first step in pre-press is to verify your print-ready PDF file. Our pre-press experts will make sure that your file contains all the elements necessary for a successful print job. (Image resolution, CMYK color settings, crop marks, bleeds and margins, etc.)
At this point, our prepress technicians do not look for or correct grammatical or spelling errors, so please be aware of this.
02
Soft Proof
Soft Proof
We create a soft proof to see how your file will look when it's actually printed. Proofs are typically created in PDF format.
03
Physical Proof
Physical Proof
We print an actual physical proof via digital or indigo printer for verification. The main purpose of this step is to ensure that the printer and client are in complete agreement on the desired outcome.
For tangible products such as brochures or books, it also helps to confirm things like page order and where the folds will be.
04
Offset Proof
Offset Proof
For really color-sensitive prints, printing should be the exact same way as actual production so that you pre-confirm the quality for production. Physical proofs, whether digital or indigo, may not give you any indication of color at all.
Creating offset proofs involves printing small batches exactly like the actual production, which can be expensive, time-consuming, and laborious, but it's something we don't mind doing if the client needs it.